Have you ever had a canning party?
Or maybe you remember your granny making canned jams, pickles, tomatoes, or even canned meat or eggs. I remember my mom going to our neighbor’s house to can with a group of women.
Why a group? Great question. If you’ve ever canned before, you know that having six hands is far better than only two. Someone is cleaning and chopping vegetables, another is making the brine, while yet another is sanitizing jars, lids, and caps. There’s always the “recipe lady,” too—she’s in charge of the brine measurements and the overall success of the production.
Here’s the process:
Step 1: Find someone experienced in canning.
They’ll have the recipes and know-how to help avoid unsafe or unnecessary mistakes. Believe me, this person has made them all and can offer valuable wisdom to the group. Thanks to YouTube, having an expert isn’t absolutely essential, but it will save you a lot of time watching how-to videos. Plus, supporting our community gives purpose to those who are more seasoned. There’s just something about having a knowledgeable person in the room—it adds a certain je ne sais quoi.
Step 2: Plan your party.
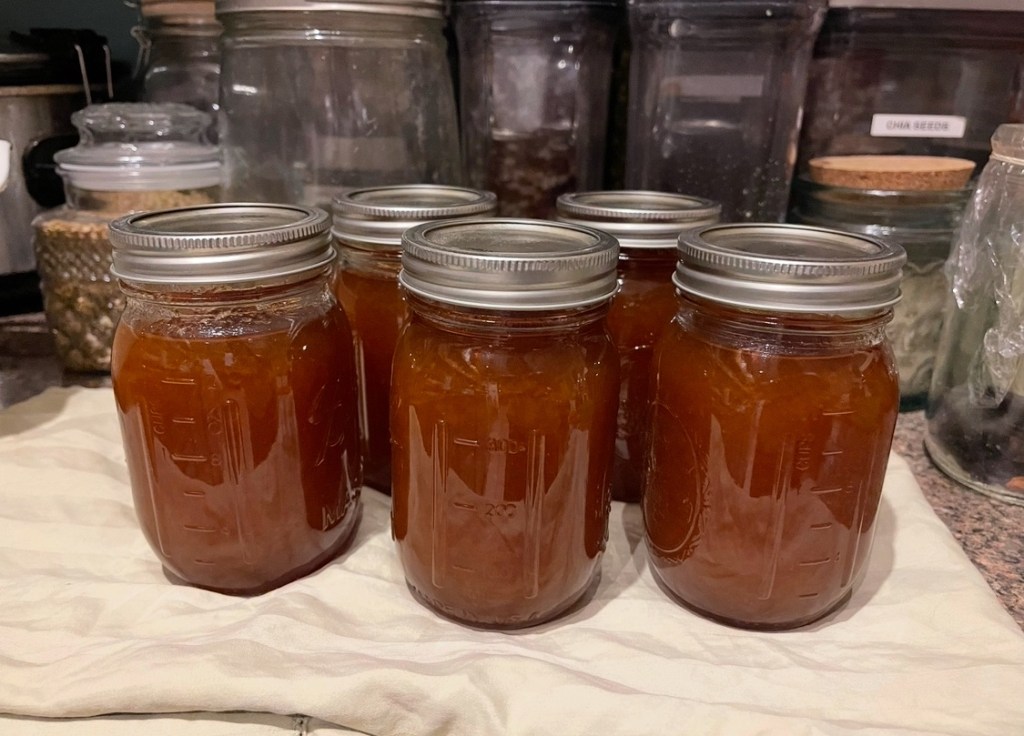
What are you canning? I suggest sticking to what’s in season. Fall canning is perfect for apple butter, jellies, jams, tomato sauce, pickles, pumpkin butter, chow chow, hot sauce—pretty much anything you can harvest from your garden. However, only can one thing at a time. Unless you’re a canning expert, it’s never a good idea to can more than one or two types in a single session.
Each person should bring their own jars with lids and contribute to the cost of food and supplies. Depending on how many people are coming—and what everyone wants to take home—you’ll need to do a little math to figure out quantities. Have everyone pay their share before the canning day. Once they leave with their jars, the party is officially over until next time.
Step 3: Pick a date.
Saturday afternoons work best since canning takes time—plan for at least 4 to 5 hours. Be upfront with your guests about how long it will take; many will arrive thinking it’s a quick two-hour event.
Step 4: Make it fun.
Include snacks and light activities for downtime while the jars are cooking and cooling. Coffee and conversation absolutely count as fun activities, especially toward the end when everyone starts to feel tired. Remind guests to keep the boxes they brought their jars in so they can refill them before leaving. Write each person’s name and the number of jars on their box to avoid any confusion about who gets what.
And that’s it!
If your first canning party goes well, keep them going—but no more than twice a month so no one gets burned out. Remember, you can always buy produce to can; it doesn’t all have to come from your garden. You can also plan your planting with canning in mind—maybe your group will even coordinate to grow certain items together. One pumpkin can make a ton of pumpkin butter, and apples for canning can easily be foraged from trees that don’t produce picture-perfect fruit.


Leave a comment